For over a year now I’ve been baking bread at least once a week and, as a result, we barely ever buy bread in the store these days. The sourdough bread is amazing: it doesn’t require kneading so it’s incredibly easy to make, you know for certain what’s in it, and it tastes so much better than anything store-bought.
How come I’ve taken this long to share this awesomeness on my blog, you might ask? You see, I was using a sourdough starter that I got from my aunt so I couldn’t really tell you how to make the bread from scratch.
This changed a few weeks ago when, during sleep-deprivation induced temporary brain blackout, I killed my sourdough. I other words, I forgot to take off a starter before putting the bread in the oven. And it took me 24 hours to realize my mistake!
It was pretty clear that we’re not ready to give up on home-baked bread but getting another starter from my aunt or my mom would have meant waiting until Christmas. We could buy one at a store for a few euros or online from the German sourdough guru for a whooping 30 euros. Or we could try making one ourselves. I had tried (and failed) making a sourdough a few years ago but now, with over a year of sourdough baking experience under my belt, I was ready to try again.
I’m not going to outline the process of making a sourdough starter as there’s already plenty of great resources on that, for example, the wheat sourdough starter from The Kitchn.
There’s just two pieces of advice that I’d like to add comparing my first failed and second successful attempt: take finely ground flour as opposed to the standard variety (in Germany this means Typ 1050 wheat or Typ 1150 rye) and make sure that the room temperature is between 23 and 30 C (73 and 86 F). If you think it might be too cold, place the bowl on a pillow.
After five days of “its’s working!”, “no, that doesn’t look right”, “boy, that thing stinks”, and “this might have a chance after all” I had 500 grams of sourdough starter. I took 100 grams off for the next bread and put it in the fridge, then mixed the remaining sourdough with 400 grams of flour, following the recipe outlined below. And I have to admit, this bread might even taste better than the one I made before!

Sourdough Bread Recipe
Don’t take this recipe too strictly, baking sourdough is a creative process. It is, after all, a living organism (I think of it as a pet) and your bread may turn out different depending on the air temperature, humidity, and a gazillion other things. Try the recipe out, adjust as you go along, and have fun!
You will need:
- 500 gr (4 cups) flour of your choice
- 500-600 ml (2,5 cups) cooked water, cooled to room temperature
- 1 teaspoon salt
- 1/4 cup sugar (approx. 50 gr)
- Sourdough starter
Between 1/4 and 1/3 cup (or simply a handful) of other ingredients, for example:
- Bran
- Caraway seeds
- Linseed
- Sesame seeds
- Sunflower seeds
- Pumpkin seeds
- Pine nuts
Instructions:
Around 30 minutes before baking boil water and remove the sourdough starter from the fridge, let both reach room temperature.
Mix all the dry ingredients in a large bowl. Gradually add water and mix well, then add the sourdough starter. The result should be slightly liquid, similar to American pancake batter by consistency. If it feels too thick don’t hesitate to add a little more water.
Cover the bowl with a clean dish towel and leave to rest in a warm place, e.g. put it on a pillow. The dough should rise for approx. 12 hours; in my experience anything in the 10-14 hour window works well.
Take around 3-4 tablespoons of dough, put them in a small container without a lid and store in the fridge for the next time.
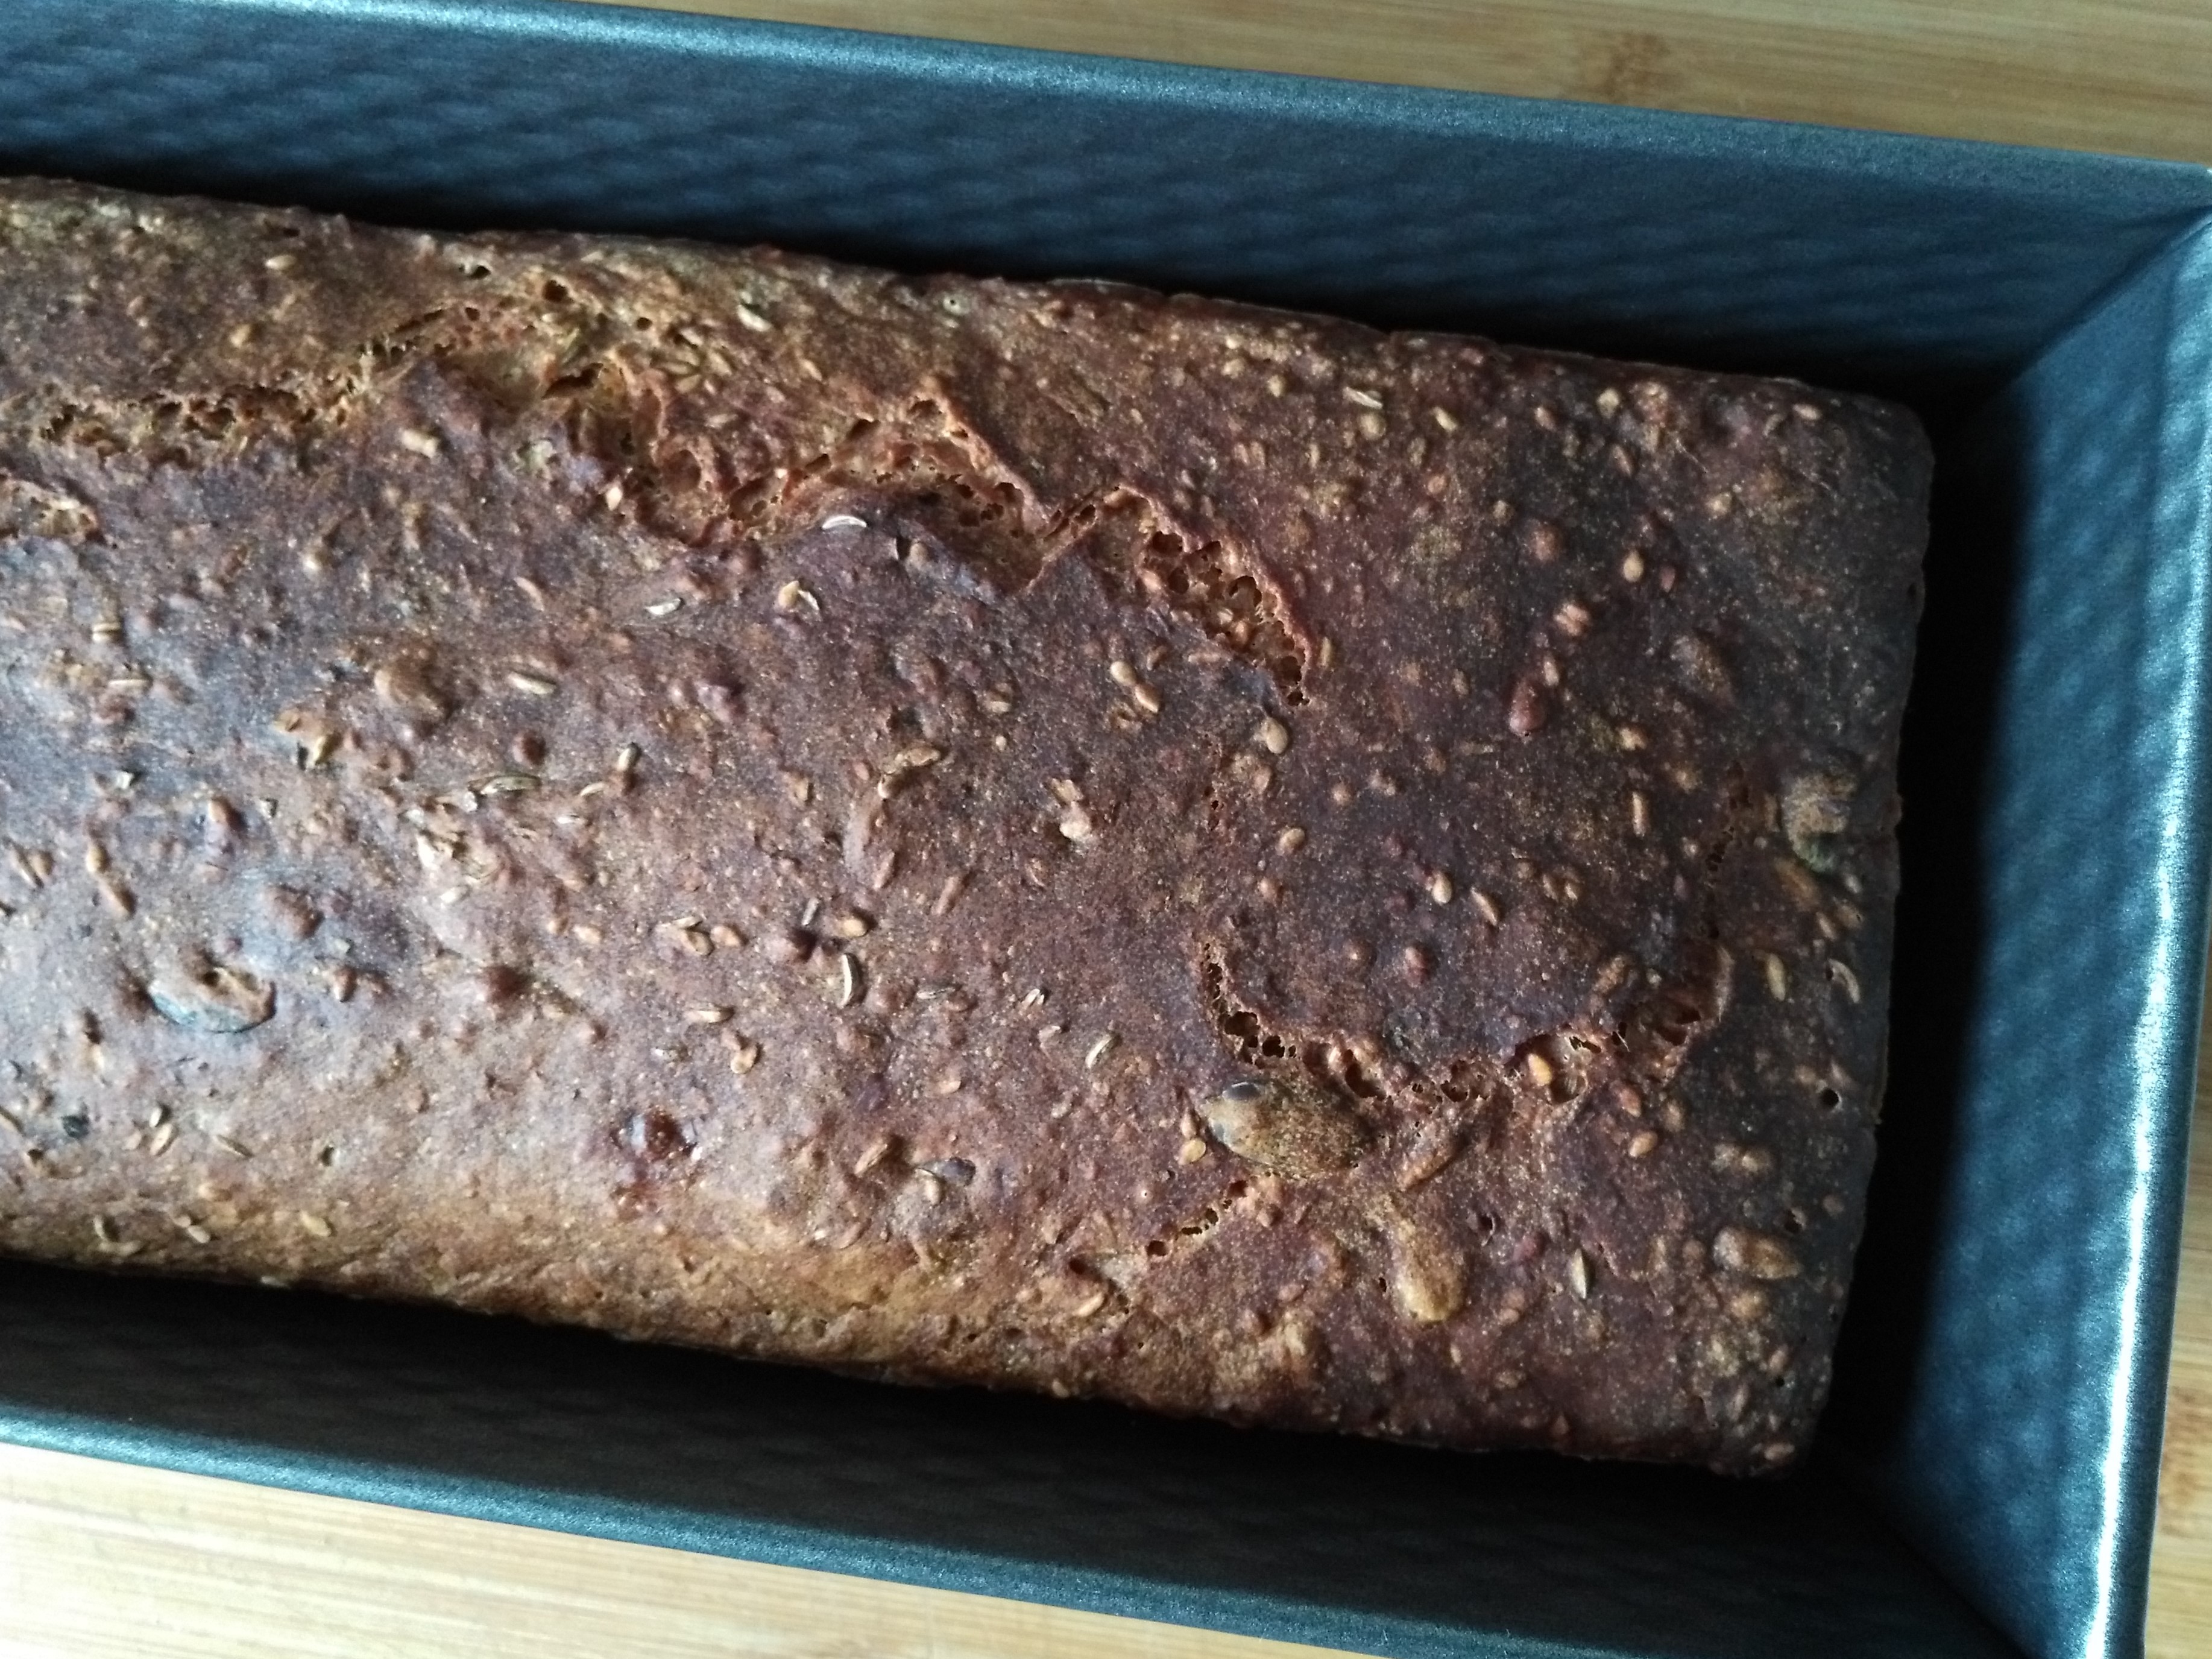
Fatten a bread form and pour in the dough. Don’t stir the dough, just pour.
Preheat the oven to 200 C / 395 F. Bake for 15 minutes, then reduce the temperature to 180 C / 355 F and bake for another 1 h and 15 minutes.
Remove the sourdough bread from the pan, rub it with some cold water from all sides (you will need oven gloves for this), then cover with a dish towel and leave to cool down. I usually place it on a wood cutting board so that the bread can breathe.
Tips & notes:
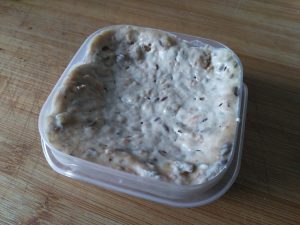
The sourdough starter can stay in the fridge for around 7 days, meaning that you should bake the bread at least once a week. The starter will get dry and brownish white on the top and perhaps smell a little but don’t worry, it’s not turning bad. Unless it’s green – blue and stinks so bad that you cannot open the fridge door, your sourdough stater is fine.
I usually use wheat flour or mix wheat with some rye flour. You can also make pure rye sourdough bread, or use another kind of flour, e.g. spelt.
I always add bran and caraway seeds to my sourdough bread, everything else I vary depending on what I have at home and what I feel like. Don’t overdo it though, 3-4 extra ingredients is more than enough.
It’s also possible to make sourdough bread with dried plums and dried apricots, as well as various nuts. However, these ingredients shouldn’t be in the sourdough starter you keep in the fridge (I suppose they mess with the bacteria). So if you want a fruit bread take off of some extra sourdough when baking and use it for a second bread.
If you have enough time, let the dough raise in the bread form for around an hour before baking. While not necessary for wheat breads, it does wonders for rye sourdough.
Depending on your oven the baking time might vary a little bit, if the bread ends up too dense on the bottom it needs to be baked a little longer.
My favorite way of baking is mixing the dough in the morning, baking it in the evening, letting it cool overnight and then having fresh bread for breakfast the next day. If you mix in the evening, let it rise overnight, and bake it in the morning, the bread will be good to eat by dinner. This is definitely one type of bread that does NOT taste best when still warm. While fresh the sourdough bread will have a crunchy crust and a slightly moist middle, this will even out after it spends a little time in the bread box.
If you realize that you don’t have the time to bake the bread but it has already done rising, cover the bowl with a lid and put it in the fridge, then take out and bake it when you have the time.
You don’t need to wash the bread form, just rub it clean with a piece of kitchen paper towel!
If you try out the recipe please let me know how it went!